Sunday, April 16, 2023
Cheesy Potato Soup
Sunday, April 2, 2023
saunter, sourdough bread, and sunflower cookies
Tuesday, February 14, 2023
Valentine's minicake. perfect for two
Friday, January 27, 2023
quick and easy food.
Sunday, January 22, 2023
broccoli cheese soup
Thursday, January 12, 2023
chocolate chip cookies
Sunday, January 8, 2023
Meatballs
Thursday, December 8, 2022
Winter Weather Chili
Tuesday, November 29, 2022
Chili for a cold day
Sunday, October 23, 2022
soup is on!
Friday, April 2, 2021
Fresh Bread: Success!
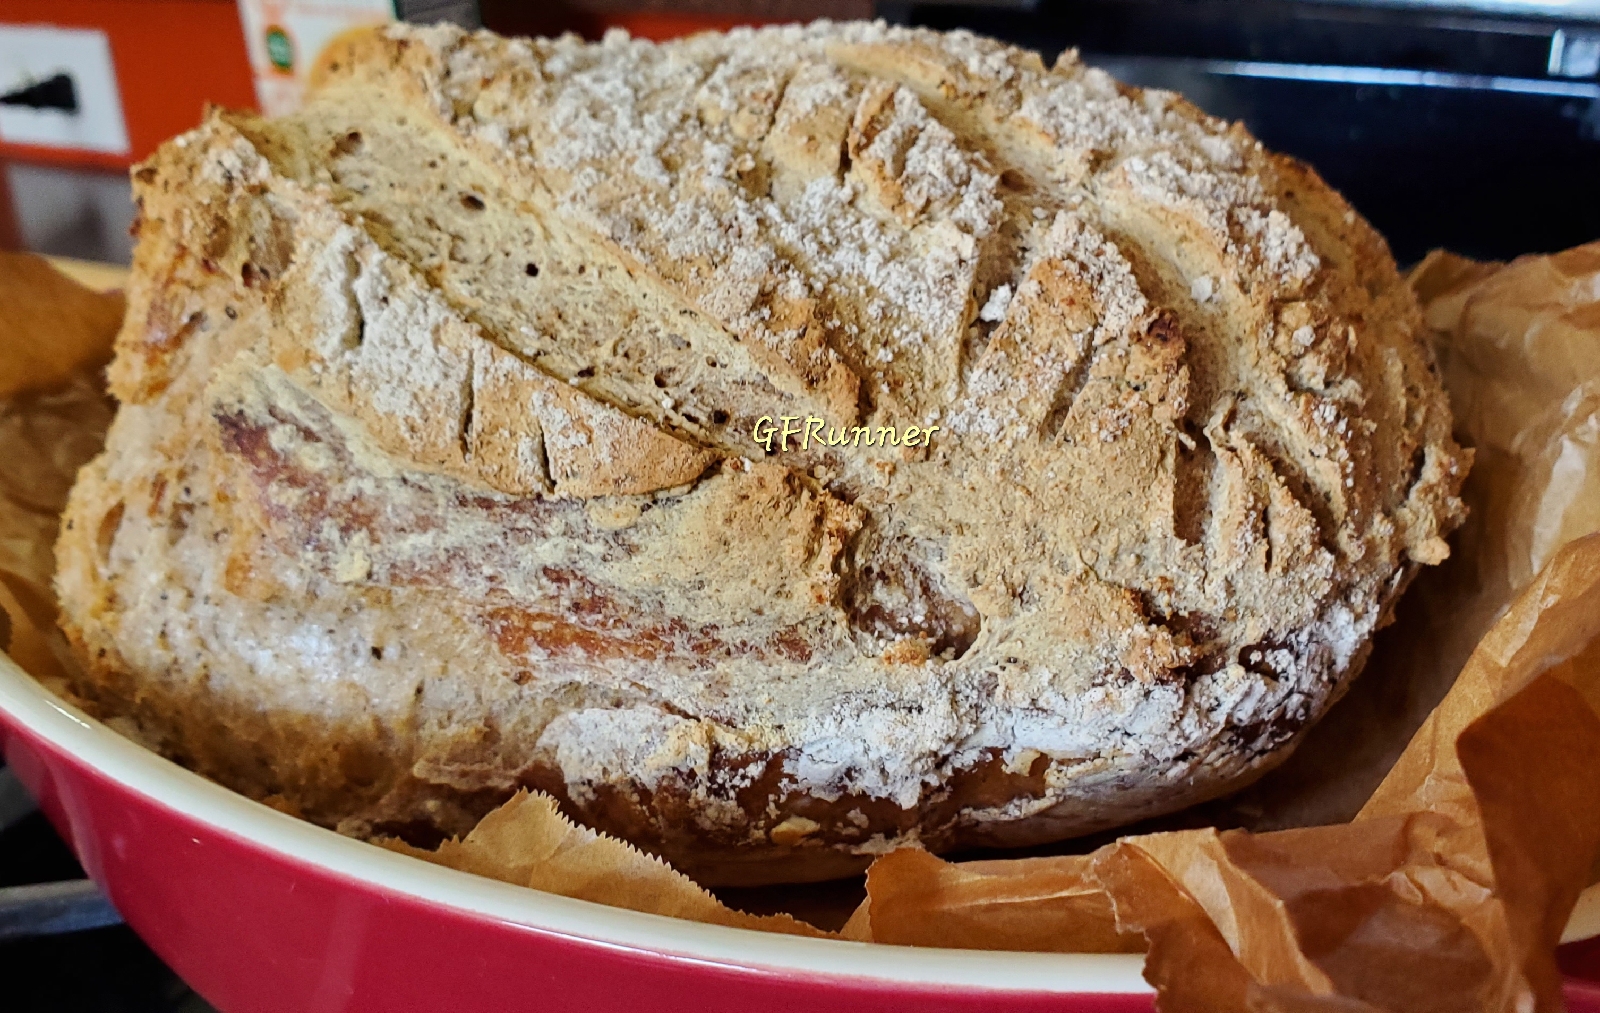
One of the things I've made off and on over the last year (and really, the last twelve years) is bread. I've tried different ways, but I've had great success with this breadbook Gluten-Free Artisan Bread in Five Minutes A Day which I bought in 2016 (I found the receipt in the book the other day!). I had really missed Artisan/crusty/peasant style bread. Oh, the days of going to Panera are long gone, but being able to make that kind of bread, and have a meal of heart bread and great cheese are back.
When I first bought the book I did make the Mix 1 and 2 as they suggest, and then one day I used the 1:1 flour blend I make and it turned out, so I started experimenting more with my flour blend and the recipes, and tweaking them a bit for our house. One thing I read early on in the gluten free journey was to add Xanthum Gum as you use it, not to your flour as you create the blend. This allows one to control the Xanthum Gum levels for baked goods. Generally, it's 1 teaspoon for each cup of flour for making bread, and half a teaspoon for most other baked goods.

The Mike doesn't care for the crunchy bread unless we are having soup for dipping :) , so I have worked on some other recipes in the book. If you're going to make a roll, or manipulate the flour, it really does help a lot (as they say) to refrigerate the dough after the initial rise.
I made up the Challah bread with my flour blend, added milled chia for more nutrients, and a bit more water for that.
I skip the initial "let rise in bowl" and I simply add it to the greased baking pan for it to do the rise. I let rise for 2 to 2 1/2 hours depending on how warm or chilly the house is that day.
Placed just over half the dough in the pan after mixing, the rest I scooped as rolls in a separate pan.

Removed the pans from the oven, removed the plastic wrap, applied an egg wash of 1 egg and a splash of water, scrambled and then silicone brush for applying. I then preheated the oven to 350ºF and then baked for 55 minutes.

It did deflate a little bit, but held it's shape remarkably well. We managed to not cut into it until it had cooled completely. That was an endeavor!
This loaf lasted us a week. It was great for fresh with butter, for grilled cheese, for tuna melt (The Mike requested) , and for a cold ham and cheese sandwich.
I realized I probably should have done something simple to the bread, and remembered to do that this next time. . . . put a few slices in the top of the risen bread.
Bake: 350F 60 minutes. Switched and rotated the loaf pans after half an hour.
920 grams / 6 cups of my Gluten Free Flour blend,* plus 6 teaspoons of Xanthum Gum
1 scant Tablespoon kosher salt (I generally under add salt, figuring we will be using the bread with plenty of salted things like cheese and ham :)
10 grams of rapid rise yeast, which for me is 1 1/4 envelopes.
30 grams/ 1 Tablespoon of milled chia more protein and fiber)
Wet ingredients:
4 eggs (farm fresh large/jumbo eggs for me, totaling 252 grams)
110grams of Olive Oil (California Olive Ranch for me), or half a cup.
3 cups of lukewarm water (100ºF to 105ºF)
Weigh and mix the dry ingredients together in stand mixer bowl. Measure wet ingredients and add to a separate mixing bowl or container. All at once, add all the wet ingredients to the dry. Attach paddle and mix on low for a few minutes to incorporate all the ingredients, then turn to 6 speed, and mix for a couple minutes.
Grease two long loaf pans (15"x4"x4"), or one long loaf pan and one 12-muffin tin.
Cover loosely with plastic wrap and place in a warm /draft free area for two hours of rising. General temps for optimum yeast product rising is 80F to 115F. I put my oven at 105F.
When rising is complete, preheat oven to 350ºF. If bread was in oven proofing, remove from oven before preheating.
Remove plastic wrap from pans, scramble one egg with one teaspoon of water, and gently apply to the top of the bread with a pastry brush, silicone kitchen brush, or a folded paper-towel that won't lint/shred. Then, using a serrated knife, make three slices across the top of the bread.
When oven has reached temperature, place pans in center oven. Bake for one (1) hour for long loaf pan, 40 minutes for smaller rolls).
Remove from oven, let cool in pan ten minutes. Remove to cooling rack and let cool completely before slicing with serrated knife.
* One reason I started making my own flour mix was my desire to have more than "just" white flours in baked goods. Mine has brown rice flour, sorghum, and teff in addition to tapioca and potato starch.
Tuesday, February 9, 2021
Pork Roast Becomes More: tacos, pizza, more
In my oven, this cooks for 8 hours. In the electric roaster (large enough for those turkeys and such), this took about less time. Will lower the temp for next time, but it still turned out well.
I used Michael Chiarello's Food Network recipe, with a few changes. The first time I made it, I followed the recipe, but I've since adapted. it:
6 to 8 pound pork shoulder/butt roast
2tsp ground black pepper
I open the package of the pork. I've only seen the large pieces in already wrapped packages at the store. Open it, drain it, and then dry the whole thing off. I put down paper towels in my large sheet pan, place pork on it, dry it with more paper towels. Dispose of paper towels.
In my mortar pestle, I will add the rosemary first and mash it around to break up the pieces. Then I'll add the rest of the dry spices and grind them together, releasing the flavor. In a bowl, add the brown sugar and fresh garlic, and then mix with the ground spices.
Rub some on the side that will be bottom, flip it, and then add the rest and rub it into the meat, top, sides, and more to the bottom.
If you have a roasting pan with a rack, place it on that. If not, placing it right into the pan is fine as well. I have also scrunched up aluminum foil to rest the roast on, for easier clean up.
Roast for 6 to 8 hours at 275F
When done, let rest for ten to fifteen minutes, shred what you can by hand with forks, and have dinner.
Come back after dinner, shred the rest, and portion it for easy use later. I use quart freezer zip bags. Make sure to get some of the outer seasoned meat in with the rest.
--------------------------------------------------------------------------------------------------
Pork tacos:
Measure out the pork you will need for your tacos. I dice up the meat a bit more than it was just shredded.
Prep and portion out your additions:
queso cheese, guacamole or avocado, fresh cilantro, green onion, black olives, corn,, whatever you like.
In a nonstick pan, heat up a half tablespoon of olive oil, and add in the pork. Cook for about five minutes or heated through.
Cook up your tortillas. You can use a nonstick pan for this, or a griddle. I like to put a little butter on the iron first, then heat one side of the tortilla, after it bubbles a little, flip to the other side, Since it's just the two of us, I set the warmed tortillas on a cooling rack, but placing them in a warm oven on a rack is a good way to keep them warm.
Sometimes quick and simple becomes a little messy to eat. Have your fork handy!
--------------------------------------------------------------------------------------------
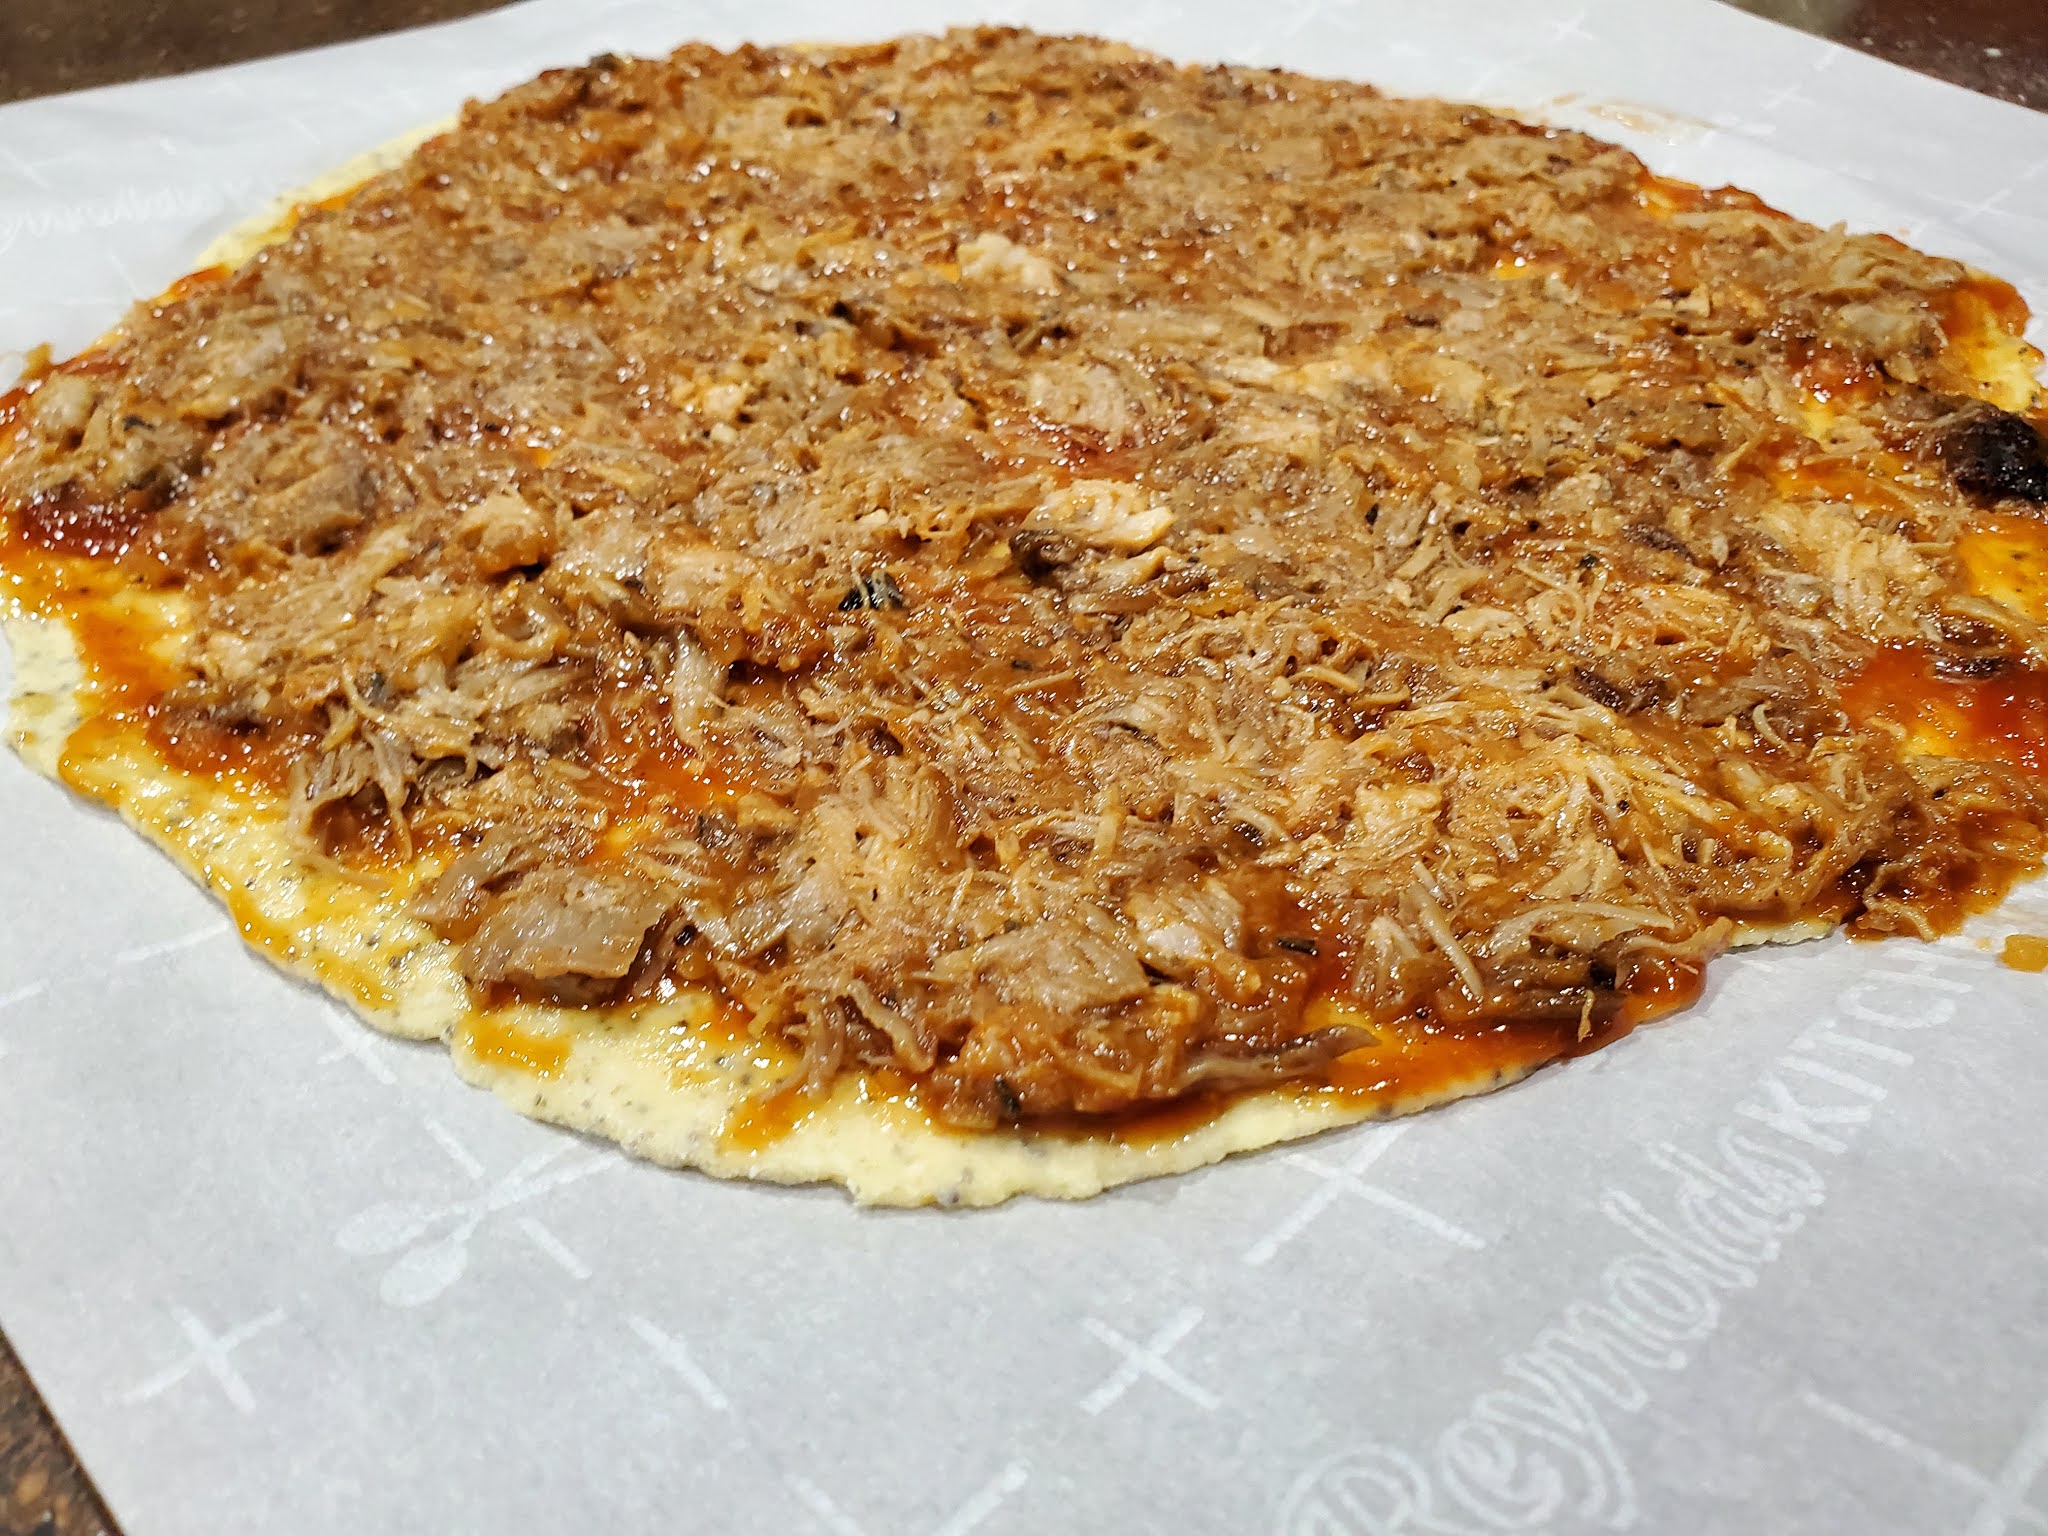
Chebe crust, we portioned it into two pizzas. The Mike made his thin and no crimped edge, mine was a little smaller/thicker and I crimped the edge--it's pie after all, right?
The Mike went for BBQ Pork. We mixed up Mark Bittman's "How to Cook Everything cookbook" BBQ sauce and then The Mike mixed the sauce with the pork (which, this is how it was done at the pizza (ahem, house) place I worked at in college. In the past we've put BBQ sauce on the crust and then topped with pork.

I used Classico Four Cheese white sauce and topped it with pork and onions, then added cheese. While I am very picky on my BBQ sauce, and I did enjoy tasting this recipe's (I would consume it!), I wasn't feeling bbq pork that night.

Layered up the cheese, and baked at 450F on already heated pizza stones for 20minutes. The Mike's took about 15 minutes, mine needed a little longer as it was thicker.
We had fresh sliced apples with it. . .does that count as a complete meal?
Sunday, November 15, 2020
Thanksgiving dressing--or stuffing without stuffing it in the bird, and gravy.
What do you call the side of bread with veggies? I grew up with it called "stuffing" but some say it's 'dressing' since it 's not cooked inside the bird. Cooking inside the bird is often said to not be good as it can inhibit the flow of warm air through the cavity of the turkey.
I also think it's just a loss *less* work to bake it in a pan than it is to stuff it in a turkey, then remove it to a dish before serving.
One of my fond memories as a child was sitting at the table in the days before Thanksgiving (it may have been the weekend before), where I opened loaves of (gluten) bread and tore them apart into small pieces. This was my first lesson in making stuffing.
When I have time, and we can prep, I usually buy UDIs bread to dice into cubes, and let dry out a bit via placing it on cookie sheets in the oven for a day or two. Then I put it in the off oven and let it sit for a day or two.
For things needed for stuffing, my mom always used onion, celery, and carrots. I had some fennel in the fridge, so I added that this time as well. Other things needed, salt, pepper, sage. We always used milk as the wetting agent, but you can use turkey or chicken broth as well.
The vegetables for the stuffing need to be cooked ahead of time on the stove top. This is something you can do the day or two before, or the day of.

Sprinkle a pinch of salt over the items.
Cover the skillet and let cook for a few minutes.
Then stir, cover, cook some more.
About five to seven minutes total.

I used the Aleia's kitchen ready to bake croutons as they were on sale last week when I was at the store. Otherwise, as above, I would have just cubed bread or bread heels I had.
I used the plain version, so I could add the seasonings we wanted.

This is my mom's stuffing that I had gotten from her shortly after her stroke. I wish I had thought to do so before in the years, so I could have a recipe with her handwriting.

After mixing the seasoning and vegetables together, I put into a large mixing bowl to rest/cool a little.
After ten minutes or so, I add the bread crumbs to the mixing bowl.

I reused those vegetable bowls because I didn't need to dirty even more dishes! Two eggs, and a cup of liquid. I used milk. You can use turkey or chicken broth, or a different type of 'milk' if you'd like. Mix these together in the small bowl.
Grease your pan. I used a 9x13 pan, but have also put this in a shallower jelly roll pan. I use butter, but you can use the fat of your choice if you need to be dairy free.
Add the milk and eggs to your croutons. Add more liquid if you think it is necessary. I like it a little drier. If you like it more moist, use two cups of liquid.

Add to the pan, smooth, cover with foil and bake for 30 minutes at 350F. For the last ten minutes go ahead and remove the cover and let bake uncovered.
One thing that I just have not been able to perfect since being gluten free (14 years) is gravy. However, these days Simply Organic / Frontier Coop has plenty of mixes for making the holiday a little simpler!
What else do you have for Thanksgiving?